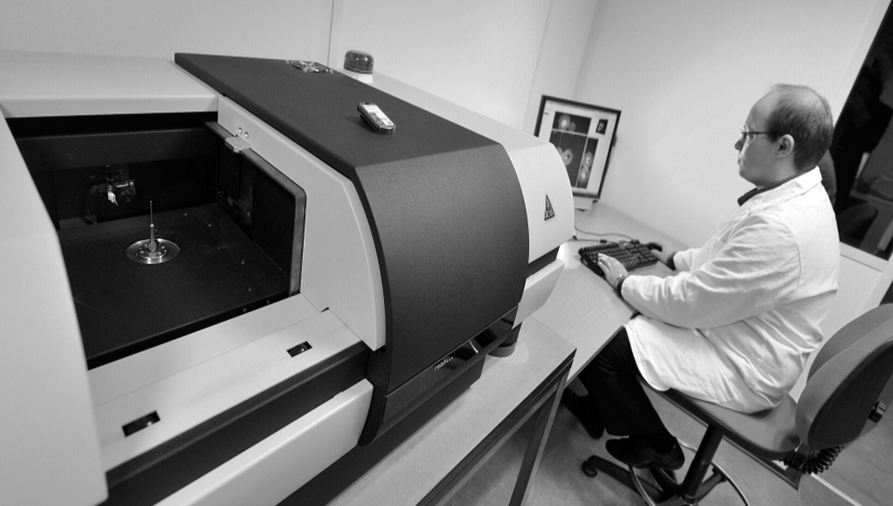
Tomography and X-ray microtomography

The 6NAPSE Group offers analysis by tomography and X-ray microtomography to allow the diagnosis of an assembly without requiring destruction.
X-ray tomography and microtomography
Characterization of a material or part by non-destructive method
This non-destructive technique allows the search for defects such as cracks, porosities, inclusions, leaks, wedging, welding,….
This innovative diagnostic technique makes it possible to visualize faults in the 3 dimensions of a component. It also makes it possible to inspect parts with high added values by detecting and/or visualizing defects. The expertise of leaks, load distribution, active ingredients, porosities, or even cracking phenomena are carried out by this analysis. We will also provide you with a viewer to observe the assemblies in great detail.
Operating principle
A source of X-radiation illuminates an object and a detector which collects all the X-rays. As the object rotates, many X-rays are acquired from different angles. A compilation of digital data makes it possible to reconstruct this object according to a densitometric contrast. Then, it is possible to inspect the internal structure of the object, to carry out a reconstruction in 3 dimensions.
Optional accessories:
- A cryogenic stage: visualization of a block of ice (on the left the stage and the block, on the right the reconstructed object)
- A micro-positioning stage: improves the centering of the object in relation to the x-rayed area
Characteristics
- X-ray source: 20-100 kV, 10W, beam size < 5µm
- X-ray detector: 11 Megapixels, thermoregulated CDD camera connected by optical fiber to the scintillator
- Maximum observed object size: 50 mm in diameter
- Smallest discernible detail: < 0.8 µm in high resolution mode
- X-radiation protection: dose less than 1µSv/h at any point of the equipment
For more information, contact our teams!
