XRD analysis : crystallography in laboratory

The 6NAPSE Group carries out XRD (X-ray diffraction) analysis to help manufacturers better understand the structure of their materials and their crystallography.
What is crystallography ?
Crystallography consists of analyzing the atomic structure of so-called crystalline materials to understand their properties. The crystalline state is defined by a periodic and ordered character on the atomic or molecular scale.
Crystallographic analysis by XRD in the laboratory
The 6NAPSE Group characterizes crystallized materials, whether massive, in the form of powder or deposits. Indeed, our laboratory carries out the characterization of inorganic materials (minerals, metals, alloys, ceramics, etc.).
We also measure the intensity of the X-ray radiation diffracted on the material (the diffraction conditions are given by Bragg’s law).
X-ray diffraction (XRD) is a non-destructive technique for identifying and characterizing polycrystalline materials in order to determine their crystallography, their polymorphic structure, their phases and to observe their changes in crystallinity.
Measurements can be carried out at temperature.
Applications
- Determinative mineralogy: identification of crystallized phases
- Monitoring of crystallochemical transformations during reactions (e.g.: drying or hydration).
- Crystallographic structure refinement
- Crystallographic texture measurement
- Determination of residual stresses
- Mapping of reciprocal space
- Powder crystallinity analysis
Technical features
- Equipment: RIGAKU X-ray diffractometer, Miniflex 600 HR model
- Sample types: powders, bulk
- X-ray generator: 30kV, 15 mA
- Detector X-ray tube: Copper anticathode tube
- Goniometer:
- Length 150mm
- Range -3° to 150° (2theta)
- Scan speed: 0.01° to 100°/min (2theta)
Principle of operation of XRD (X-ray Diffraction)
The material is bombarded by a beam of monochromatic and parallel X-rays of known wavelength produced by a copper anticathode. The sample is placed in the center of a rotating device and itself rotates with a uniform movement around the axis located in its plane (goniometric circle). The incident beam which diffracts on the crystal structure of the material satisfies Bragg’s law:
– not. = 2.d.sin ø
– with l the wavelength of the incident beam,
– d the distance between 2 crystal planes,
– ø the angle of the diffracted rays.
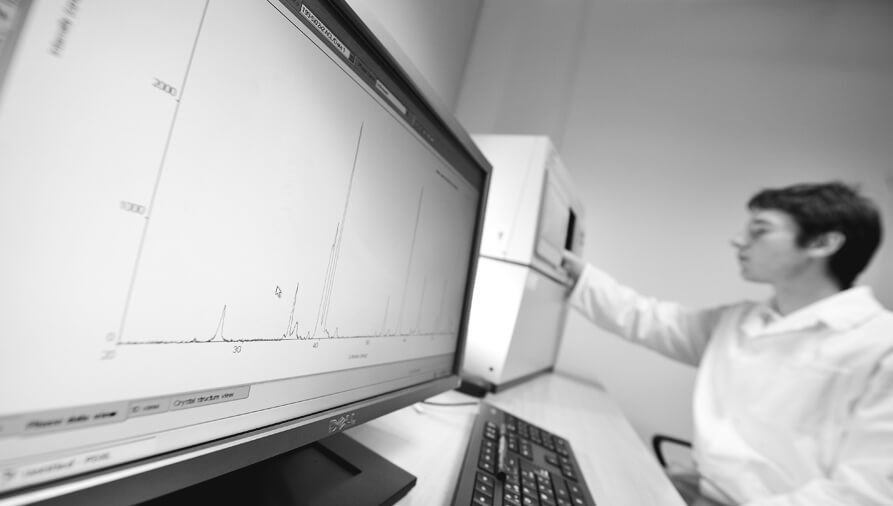
The goniometric counter measures the intensity of the X-ray radiation diffracted on the material. The recording made is the curve of the intensity of the diffracted X-rays as a function of the diffraction angles.
6NAPSE Group assets
- A laboratory specializing in materials analysis
- Large material databases
- Urgency and short deadlines
- Our technical experts are available to discuss your analytical needs, with the appropriate benchmarks and standards.
For more information, contact our teams!
